Thursday, November 27, 2014

DIY Sharpe mug

Oil sharpies on a black mug.... super cute

Wednesday, March 26, 2014

Skinny Jeans and Winter Dress... Trash or Treasure

So when "H" came to stay with us she had outgrown most of the cloths that came with her.... (as most 13-14 yr olds do).. As we were sorting through the cloths keep, give away, throw away.. Nothing was going in the throw away or the give away just into the Keep... Hmmm so I asked why are you keeping all those??? What are you going to do with them??? Do they fit you anymore??? The answers were I do not know what I am going to do with it but I like it and I do not want anyone else to have it.. (once again as most 13-14 yr old say) so became a 4th option I like but I am not attached to it/ Meaning Aunt Cheryl can cut it up. 1st pair of jeans became a cute skirt that I used some fabric from a crib sheet to complete. 2nd Pair of jeans and a tight winter knit dress .......


 1st we cut off the skirt off the dress leaving about an inch and a half. We also removed the arms by cutting at an angle from armpit out and up. We then Lettuce stitched the edges of the arms and the bottom of the shirt. 


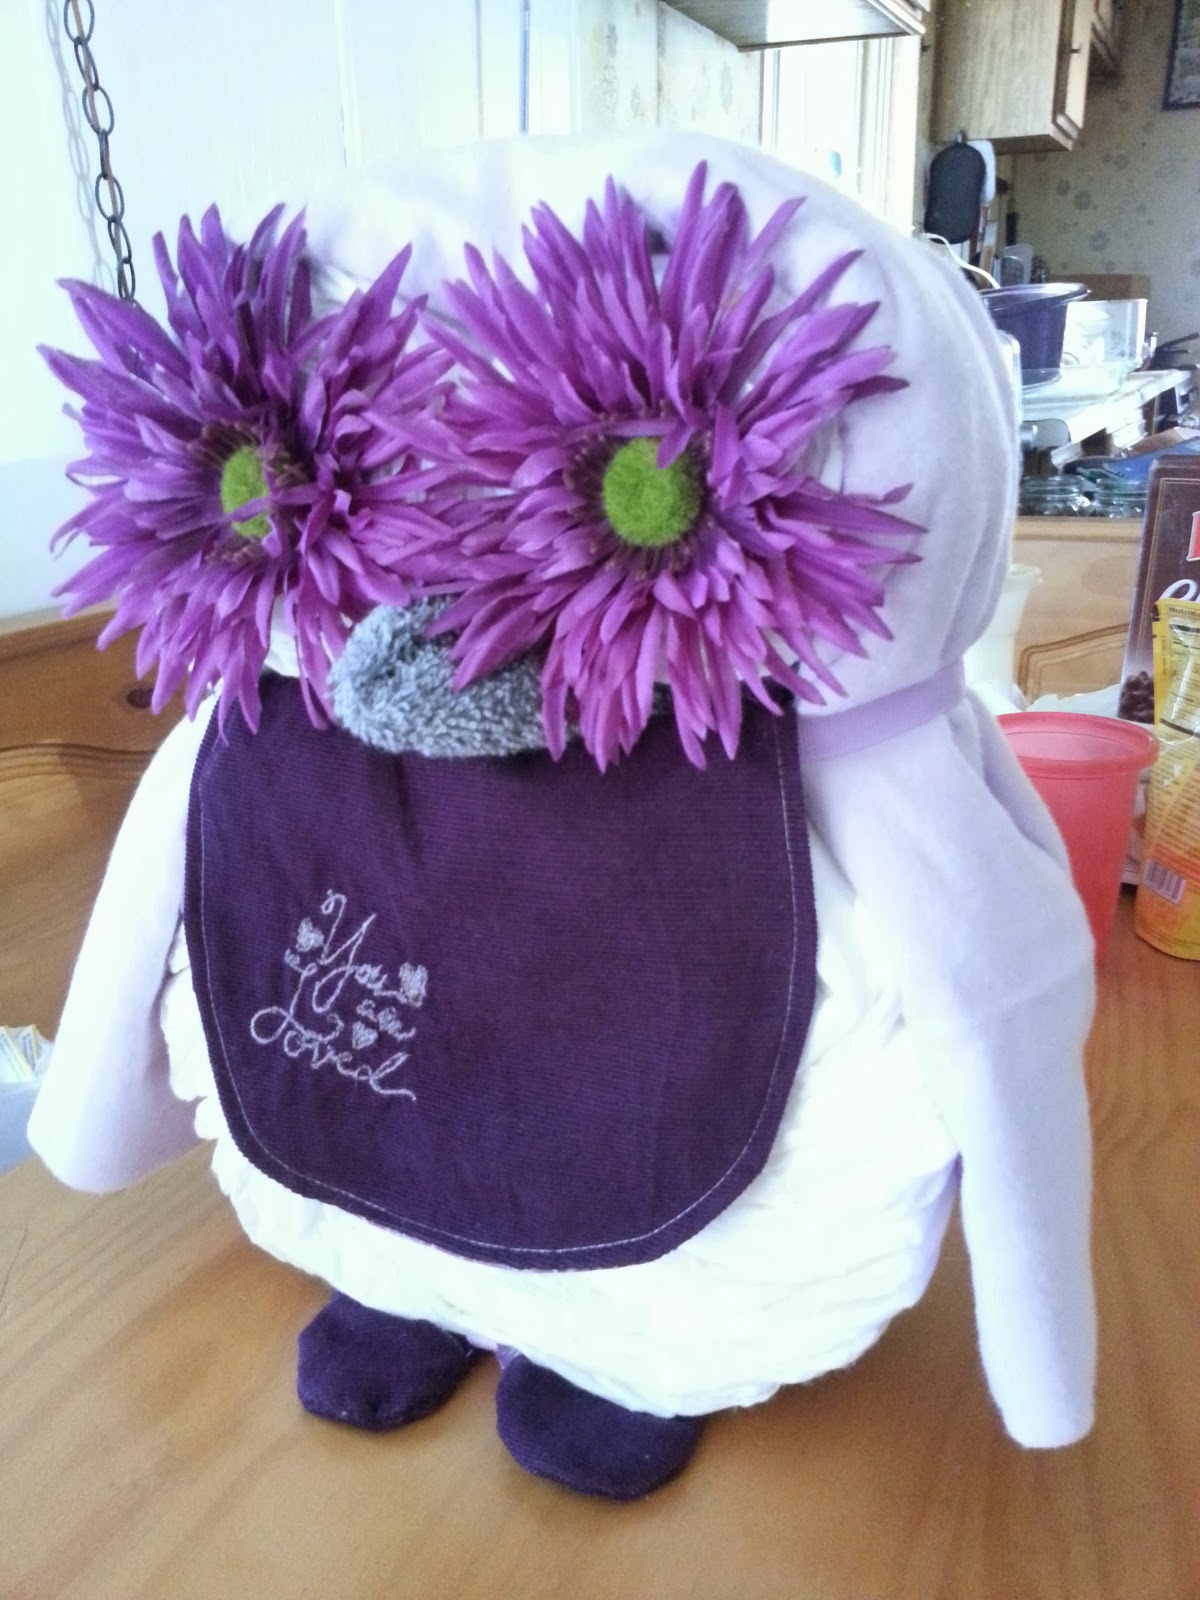
We then cut the legs off the jean right above the crotch line and added the skirt(after gathering it to fit) to the bottom of the jeans. I we took the legs and sleeves of the pieces and cut them to make folded roses to accent the skirt

We also made a couple extra roses and attached them to a piece of denim and elastic to make a decorative Rose headband.
 Here is our final Product... Little to say "H" is very very happy with it and cant wait for school in the morning so she can wear it.

Monday, March 10, 2014

Grandbabies special spot

Owl Diaper cake


This is one of the cutest diaper cakes that I have ever seen..... So of course I had to make one... I chose to make all the items used in this cake but you could also purchase them.... I used 1-Receiving Blanket, 45 Newborn Diapers, Bib, Kimono Slippers, 2 Hair Clippies, Baby Wash Cloth, and a spool of ribbon... 

To make the Body I place the diapers in a Round Tupperware Container like the spokes on a bike tire... I then placed a ribbon around then and pulled tight. For the Eyes I took 6 diapers and rolled them together adding the next diaper right before I came to the end of the last and then tied off with a ribbon. I placed the Wash cloth and the Bib on top of the body and then placed the 2 eyes on top and secured all of them with a ribbon. I then Placed the receiving blanket over the head and secured it by wrapping a ribbon around the owls neck under the bib. The towel makes the owls wings. I then placed the kimono shoes into the ribbon on the bottom of the body. I hooked the Clippies to 2 bobby pins and pushed them into the middle of each eye

And here you go.. My first attempt at an Owl Diaper Cake.

Kimono shoes and Bib

Aren't these so cute???? Well I did not have to make the pattern for these but let me tell you they were sooo simple I can not believe it... I think it took longer to wait on my embroidery machine to embroider the bib then it took to make both the bib and the shoes.... You can find the bib pattern Here at Craft Passion but I think next time I am going to make it a little bigger. the size is perfect for a new born but to small for an older child. You can find the Kimono Shoe Pattern Here at Butter Cream Sewing Machine. I would love to make bigger ones also.As you can see I used these on my Owl Diaper Cake 


Saturday, March 8, 2014

Cowboys Pillowcase Dress

I used the size chart from Dress a girl..... 

I then cut 3 strips of fabric from my accent fabric.... 1 inch, 3 inch and 4 inch. The 1 inch is made into double fold bias tape for the arm pit holes.... the 3 inch is folded in half and sewn into the neck ribbon... the 4 inch piece was ironed 1/4 inch under on each side and then sewn onto the bottom of the dress right on top of the pillow case hem.... this allows for some weight on the bottom of the dress..... 

Thursday, January 30, 2014

Soooo Cute Infant Picture Outfit

SO I had an order requested for an outfit... While waiting to hear back from the person that wanted to order it I messaged my Mom to ask her what she thought... She said that she Wanted it... So while I wait I looked for the patterns and none of the picks had links..... First here is the pic that was sent to me.....

First I tackled the Shoes.... I wrote a pattern for some Mary Janes because nothing I found was quite what I wanted... You can see that free pattern HERE

 Then came the Sashay Skirt.... I found a couple patterns for toddler sizes but nothing for an infant.. SO I wrote one.... And you can find the Free Pattern HERE
And then the Hat... I found a great website that has hats in all sizes... and that is the Crafter Chick.... You can see those HERE


Wednesday, January 29, 2014

Sashay Ruffle Skirt 6-12 month


 6-12 months


Round 1. sc in each stitch around, sl st. 60

Round 2. ch 3, triple crochet in each stitch

 around, sl st in beg chain. 60(this will be the 

ribbon belt loops)

Rounds 3-4. ch 1, sc in each stitch

 around, sl st. 60  *Repeat for next 

two 

rounds

Rounds 5-7. *ch 1, hdc in the back loops in 

each stitch around, sl st, 60*Repeat 

Round 8-9 ch2 (dc in nex t st, 2 dc in next 

st) Repeat around

Attach the Sashay yarn on front loops 

of rounds 5-7 

There is a great video on how to attach 

the sashay yarn at Amys Crochet

Crochet Mary Janes

0-3months
Coming Soon
3-6months
Coming Soon

6-12 months


Round 1: Ch12, 2 sc in the 2nd ch from hook, sc in the next 2 chs, hdc in the next 3 chs, dc in
the next 4 chs, 6 dc in the last ch, then working on the opposite side of starting ch, dc in the next
4 chs, hdc in the next 3 chs, sc in the next 2 chs, sc in the same ch as the 1st 2 sc of this round.
Join with sl st in the 1st sc.
Round 2: Ch 1, 2 sc in the 1st st, sc in the next 10 sts, 2 sc in each of the next 2 sts, sc in the
next sc, 2 sc in each of the next 2 sts, sc in the next 10 sts.2 sc in the next st, Sl st to ch 1 space to join.
Round 3: Ch 1, sc in the 1st , 2 sc in the next st, sc in the next 11sts, 2 hdc in each of the
next 2 sts, sc in the next 3 sts, 2 hdc in each of the next 2 sts, sc in the next 11 sts, 2 sc in the last
st. Sl st to ch 1 space to join.
*If you want a different color sole than top fasten off and attach now.
Round 4: Working in the back loops hdc in each st around , slip st to ch 1 to join.
Round 5:Ch 1, sc in next 14, hdc2tog, hdc in next 10 sts, hdc2tog, sc in next 10 sts, slip stitch to ch 1 to join
Round 6: Ch 1, sc in next 3 sts, sc2tog, sc in next 6 sts, hdc2tog, hdc in next st, (skip next st, dc
in next st) repeat parenthesis 4 times, skip next stitch, hdc in next stitch, hdc2tog, sc in next 6 sts,
sc2tog, sc in last 3 sts, sl st to ch 1 to join.
(Left) Round 7: Ch 1, sl st in each stitch around until you are 6 st from center front, ch 12, hdc in 3rd from end, hdc in next 9 st, sl st in remaining st. Sl st to ch 1 space to join.
(Right) Round 7: Ch 1, sl st in each stitch around tip until you are 4 st from center front, ch 12, hdc in 3rd from end, hdc in next 9 st, sl st in next st of bootie, sl st around until end. Sl st to ch 1 space to join.

Crochet cowboy hat


Skill Level:   Easy
Supplies: size G/4/4.25 mm crochet hook
Stitches Used: slst (slip stitch), sc (single crochet), hdc (half double crochet)

Premie= skip Rnd 5,  Rnd 6, and Rnd 7 (!)
Newborn = Skip Rnd 6 and Rnd 7 (#)
Infant = Skip Rnd 7 (*)
Toddler= As is  

.**************************************************************************************************************
Directions-
Rnd. 1: ch6, 2sc in 2nd ch from hook, sc in next 3 ch, 3sc in next ch, working in back loops of ch, sc in next 4 ch, join with slst to beginning sc, ch1, do not turn in this or following rnds.       12sc
Rnd. 2: sc in first sc, 2sc in next sc, sc in next 3 sc, 2sc in next sc, sc in next sc, 2sc in next sc, sc in next 3 sc, 2sc in next sc, join with slst to beginning sc, ch1.      16sc
Rnd. 3: sc in first sc, 2sc in next 2 sc, sc in next 3 sc, 2sc in next 2 sc, sc in next sc, 2sc in next 2 sc, sc in next 3 sc, 2sc in next 2 sc, join with slst to beginning sc, ch1.    24sc
Rnd. 4: sc in first 2 sc, 2sc in next 2 sc, sc in next 6 sc, 2sc in next 2 sc, sc in next 3 sc, 2sc in next 2 sc, sc in next 6 sc, 2sc in next 2 sc,sc in the next sc,  join with slst to beginning sc, ch1.    34sc
Rnd. 5: sc in first 3 sc, 2sc in next 2 sc, sc in next 8 sc, 2sc in next 2 sc, sc in next 3 sc, 2sc in next 2 sc, sc in next 8 sc, 2sc in next 2 sc,sc in the next sc,  join with slst to beginning sc, ch1.    38sc
Rnd. 6: sc in first 2 sc, 2sc in next 2 sc, sc in next 10 sc, 2sc in next 2 sc, sc in next 5 sc, 2sc in next 2 sc, sc in next 10 sc, 2sc in next 2 sc,sc in the next 3 sc,  join with slst to beginning sc, ch1.    48sc
Rnd. 7: sc in first 3 sc, 2sc in next 2 sc, sc in next 12 sc, 2sc in next 2 sc, sc in next 7 sc, 2sc in next 2 sc, sc in next 8 sc, 2sc in next 2 sc,sc in the next 4 sc,  join with slst to beginning sc, ch1.    52sc
Rnd 8: working in back loops sc in each sc around, join with slst to beginning sc, ch1  52sc (*48sc)(#38Sc)(!34sc)
Rnd 9:sc in each sc around join with slst to beginning sc, ch1 52sc (*48sc)(#38Sc)(!34sc)
Rnd 10 & Rnd 11:sc in next 7 sc (*5sc)(#5sc)(!4sc), hdc in next 8sc (*7 sc)(#5sc)(!4sc), sc in next 18sc (*17sc)(#14sc)(12!sc), hdc in next 8 sc (*7 sc)(#5sc)(!4sc),  sc in next 11 sc (*12 sc)(#9sc)(!8sc)join with slst to beginning sc, ch1          52sc (*48sc)(#38Sc)(!34sc)
Rnd 12-16: sc in each sc around join with slst to beginning sc, ch1  52sc (*48sc)(#38Sc)(!34sc)
Rnd 17:Working in front loops only this round <sc in next 2 sc, 2sc in next sc> around. 70sc  (*66sc) (#52sc) (!48sc)
Rnd 18: sc in next sc until you reach the corner <you can find the corner by folding the piece from center like shown below>, 2sc in next 2 sc, sc in next sc until corner, 2sc in next 2 sc, sc in next sc until corner, 2sc in next 2 sc, sc in next sc until corner, 2sc in next 2 sc, sc in next sc until reaching begining of row, join with slst to beginning sc, ch1       78sc (*74sc)(#60sc)(!56sc)  


HINT: make the sides even so on the infant one I am making I made the sides (ex. 18 lng side and 11 shrt side 8 each corner) this made the continuous  rounded rectangle.... as shown below


Rnd 19: sc in each sc around, join with slst to beginning sc ch 1 78sc (*74sc)(#60sc)(!56sc) 
Rnd 20: Sc in each sc until you reach the corner,2sc in next 2sc, sc in next sc until corner, 2sc in next 2 sc, sc in next sc until corner, 2sc in next 2 sc, sc in next sc until corner, 2sc in next 2 sc, sc in next sc until reaching beginning of row, join with slst to beginning sc, ch1       86sc (*82sc)(#68sc)(!64sc)  
Rnd 21 & 22: sc in each sc around, join with slst to beginning sc ch 1 86sc (*82sc)(#68sc)(!64sc)  
Rnd 23: turn,sc in each sc around, join with slst to beginning sc ch 1 86sc (*82sc)(#68sc)(!64sc)
Rnd 24 & 25: sc in each sc around, join with slst to beginning sc ch 1 86sc (*82sc)(#68sc)(!64sc) 


Tuesday, January 28, 2014

Littlest Cowboy

I was requested to make an outfit for future nephew Charles Michael and of course there was a picture of an etsy item attached. 

After scouring the Internet for the pattern I realized that there is not a pattern exactly what she wanted yet alone one that included all the pieces she wanted soooo... I found several sites and then morphed the patterns to resemble the product she wanted.... First off was the chaps ...... I used the pattern from 
Busting Stitches...here


But I did not add the stars to the chaps and I added 2 more rounds around the outer edges of sc to add the light accent.

*To make the "belt" Sl in corner of waist, chain 27 turn sc in 2nd st from hook, sc in remaining 24 stitches, sl in corner, fasten off.


I also made the bonus Diaper cover and suspenders... I added buttons on the inside so the suspenders can be detached from the diaper cover.. Complete with 2 Black walnut buttons that my Grandpa Pete made from our tree when I was little..


Here is what MY interpretation (including my sisters wants/vision)........ 


I then found the boots at Hodge Podge Crochet here


So I followed the pattern for the sole of the boot and it 

worked like a charm but kinda got confused by the boot part

 so I watched the 2nd video and followed it exactly the way it

 showed but it didn't work... SO I followed the 3rd video and it

 turned out perfect... I also added the spurs. 


Make a slip loop (sc3, sc in last sc, ch2, sc in center 

loop)Repeat 4 times to make a 5 point star. Fasten off.


Ch 28 slip both the working yarn and the loop through the 

center loop of the star. turn, skip 2 sc, hdc in next 7 sc, Pull 

yarn and hook back through star, hdc the in the next 7 sc, 

sc in next stitch, ch 10, 


slip stitch the 2 chains and 

the end of the HDC

. Slide over boot, under heal  

and around back.


Here is a picture of the boots.